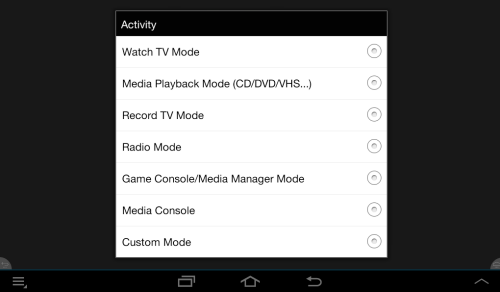
There are 7 Activity types. You can have more than one activity of the same type.
Watch TV -- use when TV comes in over the air or through a Set Top box with channel changing capabilities. This applies when used with TVs, Motors or Projectors.
Media Playback -- used for Bluray, DVD and CD players. Could also be used with Laser Dics and VHS players.
Video Recorder -- intended for use with VCRs and DVD recorders.
Game console -- for use with Xbox and PlayStation game consoles. PS3 and PS4 will require an IR to Bluetooth adapter.
Media manager -- for use with the many stand alone media managers such as Western Digital and Apple TV, and also Media PCs running MCE, XBMC or other media apps.
Radio mode -- to control AM FM XM SIRUIS and other streaming music devices including Internet radio.
Each of the previous types have a predefined button set which will appear automatically depending on the devices included in the activity.
Custom -- used for activities which do not fit any of the above categories. Note that changing lighting and climate control are not usually part of activities but can be done with a Device Remote.
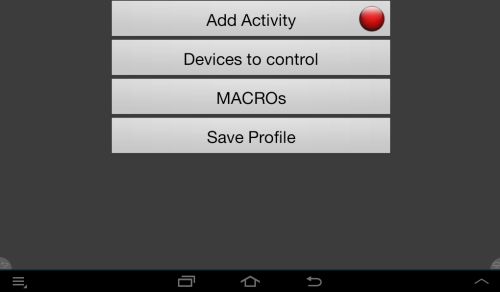
Add your first activity here.
As part of creating or editing profile, you need to define which devices are involved in each activity.
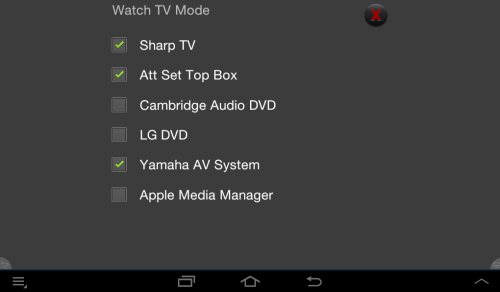
Touch the check boxes at left to indicate which devices are used in the Watch TV mode. Note that in this case three are checked.
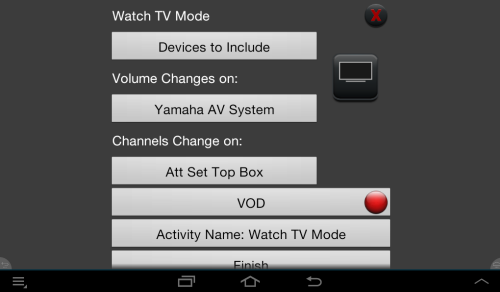
Touch the Activity Icon to choose from the available icons.
Tip: You can make your own activity icons and add them to the TSR/ActivityIcons folder.
You need to specify which device controls the sound and which changes the channels. If there is only one possibility the app will choose for you.
Scroll down for more settings.
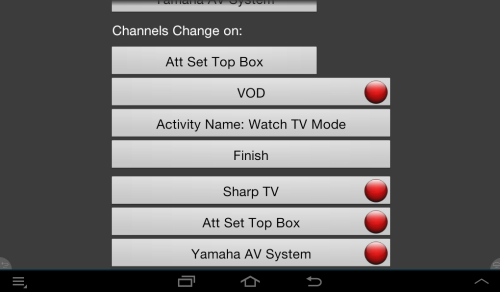
If your PVR has a Video on Demand Channel you can enter it by touching the VOD button.
You can give the activity a name by touching the Activity Name button.
Touch each Device that shows a red light to choose the input to be used for this activity. When all the device show agreen light you are done. Touch the eXit button at the upper right.

To save a profile you need to give it a name. Touch name the text box and the keyboard will appear. Type the name you want to use and touch done. Then touch Save Profile.
You will get this screen:
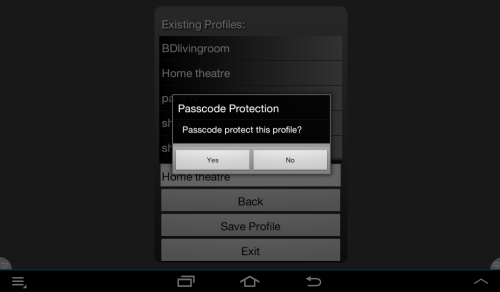
If you touch Yes, you will be prompted to enter a passcode. Any reasonable number of digits will work, but 4 digits should be enough for the purpose. If you touch No the profile will not be protected.
Hint: If you have small children in the house we advise protecting your profiles.
When you are done, Press Exit.
Note: Errors in the setup will not harm the TouchSquid or the devices being controlled, but may result in incorrect behavior.